This cake was born from a desire to have it all: the richness of cheesecake, the comfort of red velvet, and the bright, fresh joy of strawberries. I remember the first time I assembled it in my kitchen, the layers looking almost too pretty to be real. The scent of baking cocoa and vanilla from the red velvet layer gave way to the tangy sweetness of the cream cheese filling, and finally, the sugary perfume of macerating strawberries. Cutting that first slice to reveal the stunning stripes felt like unlocking a delicious secret. It’s a celebration cake that never fails to draw gasps and requests for seconds.
Why You’ll Love This Recipe
You will love this recipe because it looks incredibly impressive but is built on clever, manageable steps. It satisfies every craving in one dessert: moist cake, creamy cheesecake, and fresh fruit. It’s the perfect centerpiece for birthdays, holidays, or any day that needs a little extra sweetness. While it takes some time, there’s no fancy decorating skill required—the beauty is in the bold, beautiful layers. It’s a showstopper that tastes even better than it looks.
Ingredients
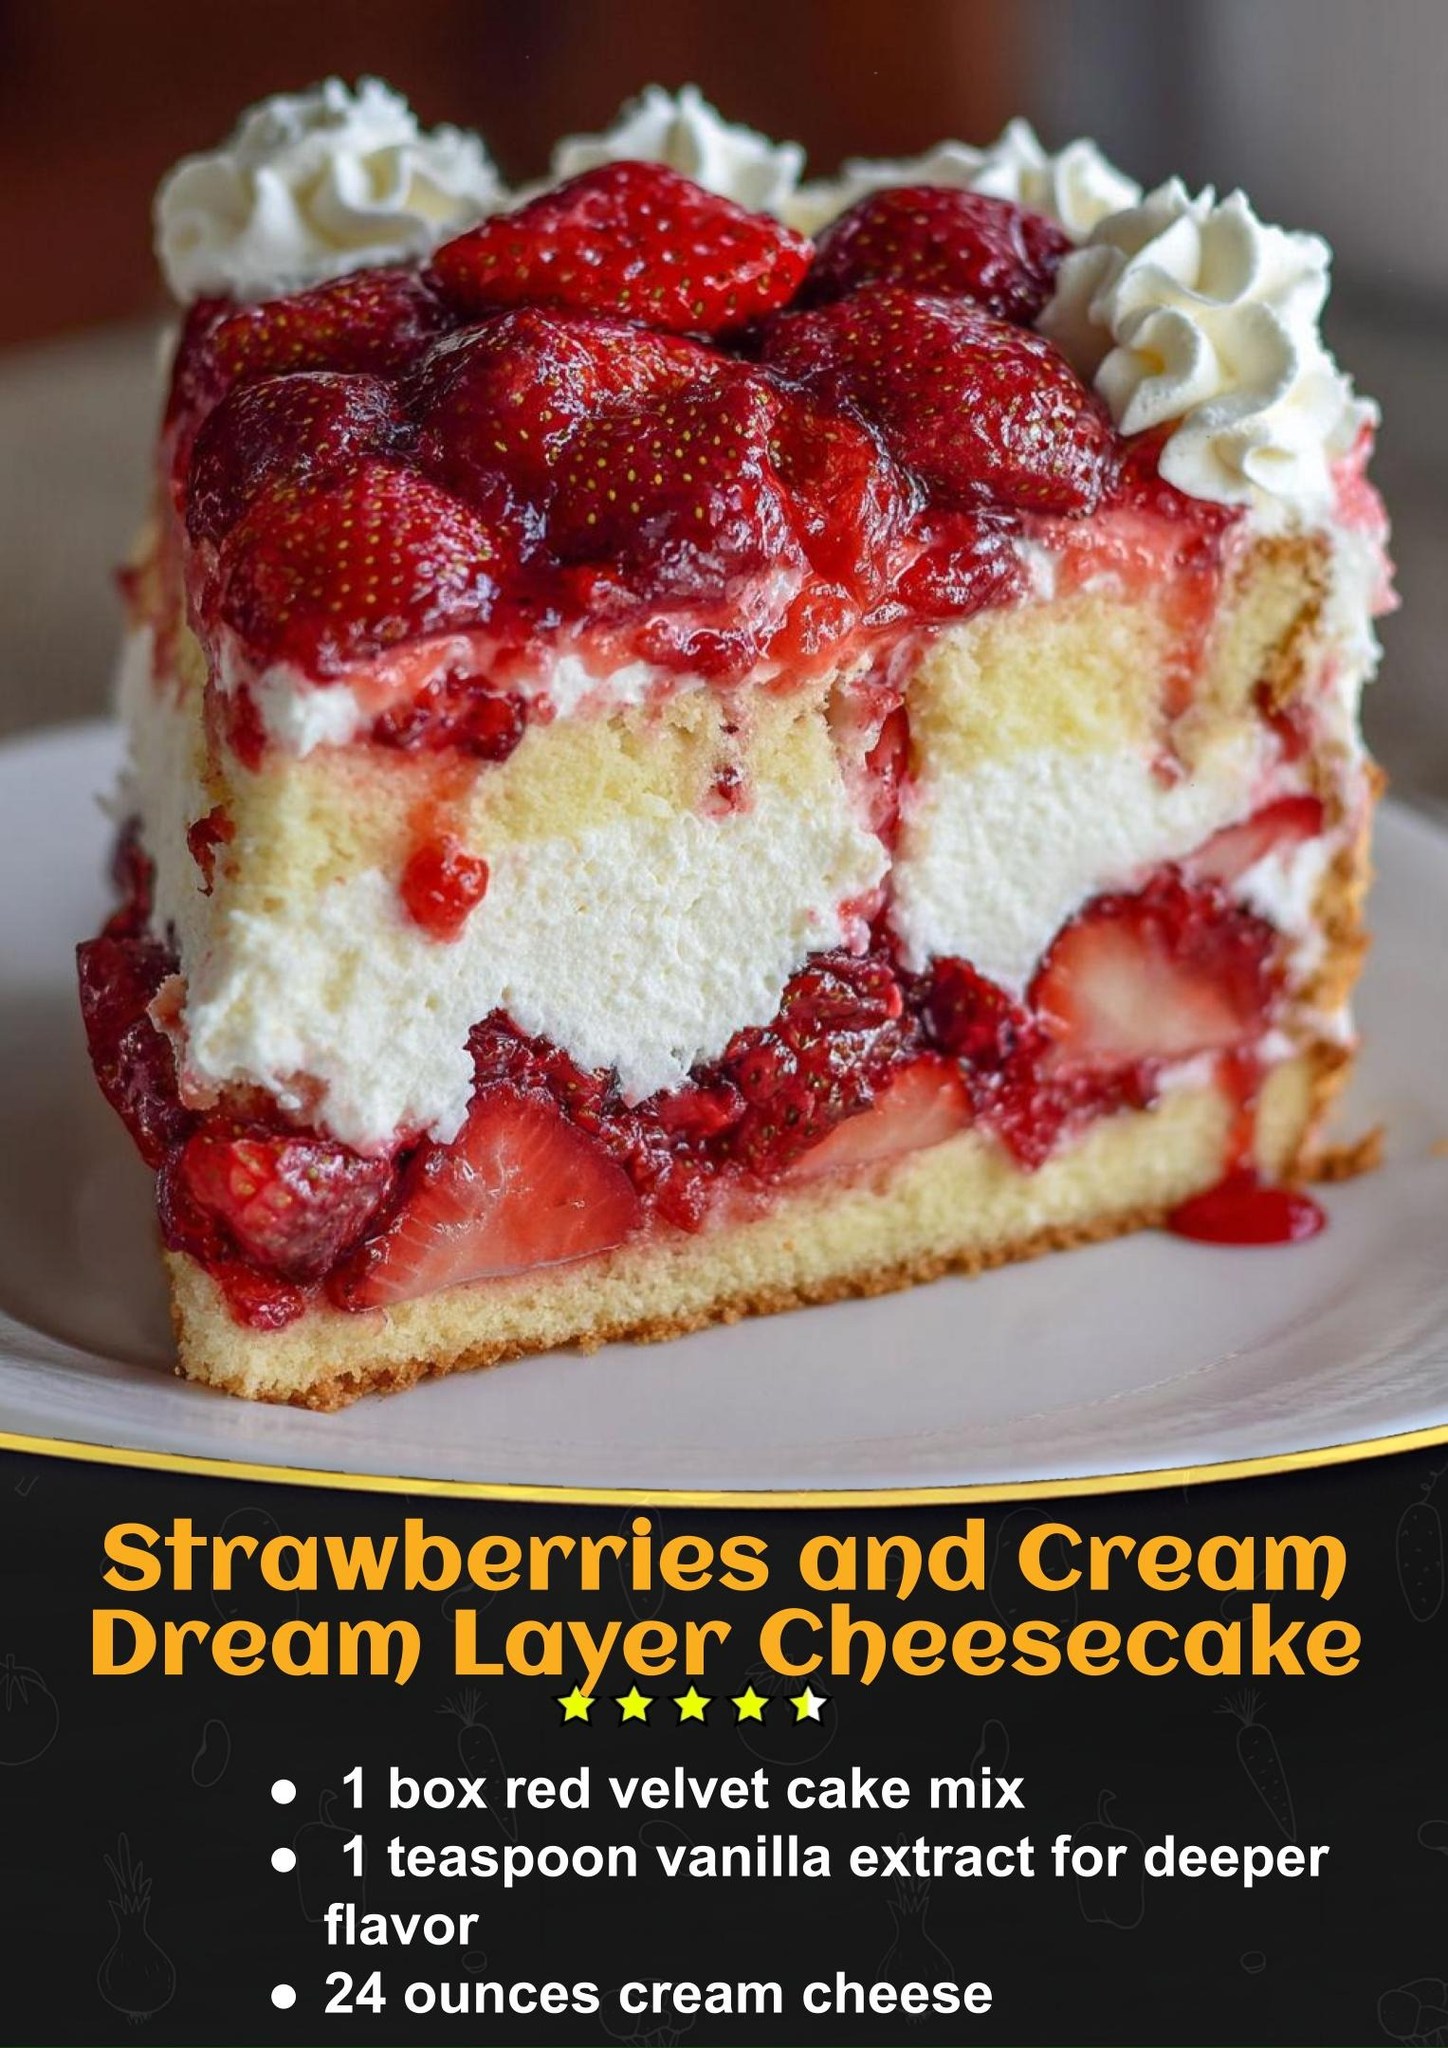
- 1 box red velvet cake mix (plus required ingredients per box: typically oil, water, eggs)
- 1 teaspoon vanilla extract (for deeper flavor in the cake)
- 24 ounces (three 8-oz blocks) full-fat cream cheese, softened
- 1 cup granulated sugar
- 1 teaspoon vanilla extract (for the cheesecake layer)
- 3 large eggs, at room temperature
- 1 pound fresh strawberries, hulled and sliced
- 2 tablespoons granulated sugar (for macerating strawberries)
- 1 ½ cups heavy whipping cream, cold
- ¼ cup powdered sugar
- 1 teaspoon vanilla extract (for the whipped cream)
Let’s talk ingredients. The red velvet cake mix is a glorious shortcut, but adding that extra teaspoon of vanilla to the batter is my non-negotiable trick—it deepens the flavor so it doesn’t taste “boxed.” For the cream cheese, full-fat is essential for a smooth, rich, crack-free cheesecake layer; low-fat will make it watery and sad. Trust me, don’t skip this. The strawberries must be fresh and ripe for topping—their natural juice mixed with sugar creates a syrup that soaks beautifully into the cake. Finally, ensure your heavy cream and cream cheese are truly at their required temperatures; it makes all the difference in texture.
Equipment Needed
- 9-inch springform pan
- Two large mixing bowls and a medium bowl
- Electric hand mixer or stand mixer
- Spatula
- Measuring cups and spoons
- Wire cooling rack
The springform pan is absolutely critical here—it’s the only way to cleanly release this towering cake. I learned this the hard way trying to invert a regular pan! An electric mixer is a must for properly creaming the cheesecake filling until it’s perfectly smooth and lump-free; doing this by hand will leave you with a grainy texture. A good spatula is your best friend for folding and spreading layers without deflating them. Don’t forget the cooling rack; proper, patient cooling is the secret to setting the layers firmly so they don’t slump when you cut.
Step-by-Step Instructions
First, I preheat my oven and generously grease my springform pan. I prepare the red velvet cake mix according to the box directions, but I always stir in that extra teaspoon of vanilla extract. I pour the beautiful red batter into the bottom of the pan—it’ll seem like a thin layer, but it rises perfectly. While that bakes, I don’t waste a second. I get my cream cheese blocks out of their wrappings and into my mixing bowl. They need to be so soft that your finger leaves a deep indent. I’ve tried to soften it quickly in the microwave, and it always ends in a melty, graasy mess. Patience is key.
Once the cake layer is done (a toothpick should come out clean), I pull it out and let it cool in the pan on a rack for about 20 minutes. It will be warm, but not scorching hot. In the meantime, I beat the softened cream cheese with the granulated sugar and teaspoon of vanilla on medium speed until it’s completely smooth, scraping down the bowl several times. Then, I add the eggs one at a time, beating just until each is incorporated. Over-beating after adding the eggs incorporates too much air and can cause cracks.(See the next page below to continue…)