I immediately pour this hot, thick caramel over the pretzel crumbs in the pan. Using my spatula, I spread it quickly and evenly to the edges. The heat from the caramel will slightly soften the pretzel layer underneath, helping them fuse together. I then let this caramel layer cool at room temperature for about 15-20 minutes. It needs to be set enough that when I pour the chocolate on top, it won’t melt and swirl into the caramel. I’ve learned the hard way that rushing this step leads to a marbled mess instead of clean layers.
While the caramel sets, I melt the chocolate. I combine the chocolate chips and coconut oil in a small microwave-safe bowl. I microwave in 30-second bursts, stirring well after each, until it’s completely smooth and fluid. The coconut oil ensures the chocolate stays shiny and sets with a crisp snap. I pour the melted chocolate over the cooled caramel layer and tilt the pan to spread it into a perfect, even coat. Before the chocolate sets, I sprinkle the top generously with flaky sea salt. Then, the hardest part: I transfer the pan to the refrigerator to chill completely for at least 3 hours, or until the chocolate is firm to the touch.
Pro Tips for Best Results
I’ve tested the pretzel layer three different ways: just crumbs, crumbs mixed with melted butter, and crumbs pressed with the caramel. Just dry crumbs pressed into the pan is the winner. Adding butter makes it too hard and greasy. The hot caramel itself will moisten and bind the pretzel base perfectly as it cools, giving you a sturdy yet tender crust that holds together when you bite.
Here’s what I learned the hard way about the caramel: you must cook it for the full 5 minutes of simmering. The first time, I got nervous and took it off the heat after 3 minutes. The caramel never fully set, remaining gooey and making the bars impossible to slice neatly. That full 5 minutes of bubbling is crucial for the sugars to cook and the mixture to reach the right setting consistency. Don’t shortcut it.
For perfectly clean cuts, I use a large, sharp chef’s knife. I run it under very hot water, wipe it dry, and make a cut. I repeat this—hot water, dry, cut—for every single slice. The heat melts through the firm chocolate layer cleanly and prevents it from cracking and dragging the caramel. Wiping the blade keeps each cut pristine. It takes an extra minute but makes for stunningly professional-looking bars.
Common Mistakes to Avoid
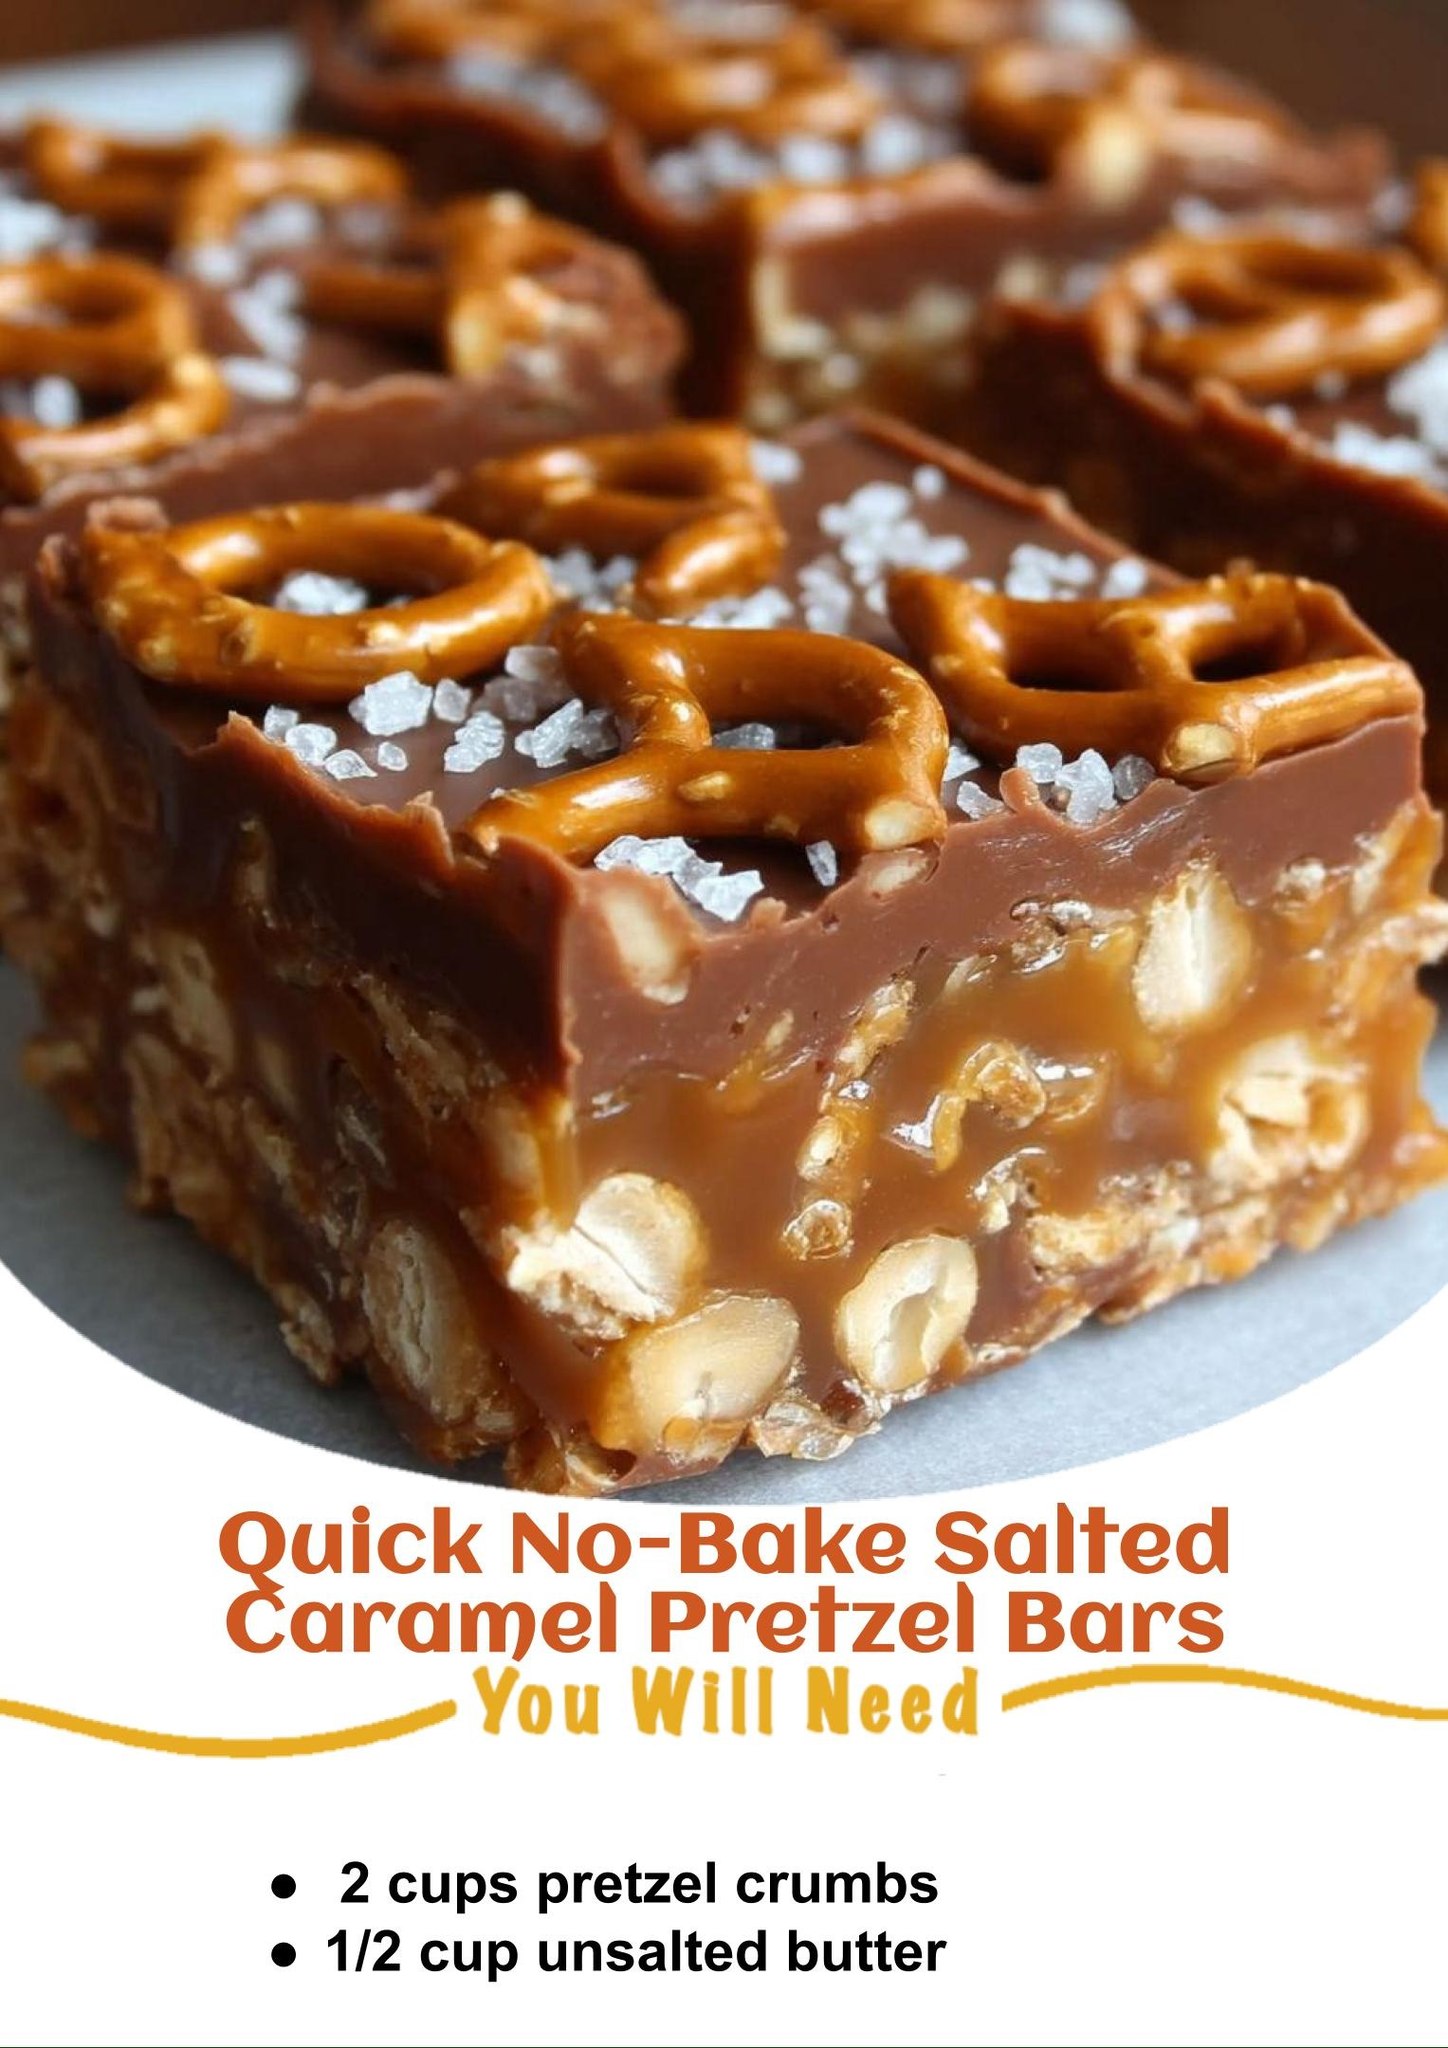
My biggest first-time mistake was not letting the caramel layer cool before adding the chocolate. I poured the melted chocolate on while the caramel was still warm, and they swirled together into a muddy, albeit tasty, layer. The distinct strata of crunch, chewy caramel, and crisp chocolate is what makes these bars so special. Let that caramel cool until it’s no longer warm to the touch.
Another error is using the wrong type of pretzel. Stick with classic salted knotted pretzels or sticks. Avoid flavored ones like honey mustard or yogurt-covered, as their flavors will clash horribly with the caramel and chocolate. The simple, salty punch of a standard pretzel is the perfect contrast.(See the next page below to continue…)