Now, I slowly, slowly drizzle in the rest of my 3 to 4 cups of milk while whisking constantly. I usually use whole milk for ultimate creaminess, but any milk works here. As the mixture heats, I keep whisking gently. I watch for tiny bubbles to form around the edges and steam to rise—this means it’s getting hot. I never let it come to a rolling boil, as that can sometimes make the milk taste “scalded” and can cause a skin to form too quickly.
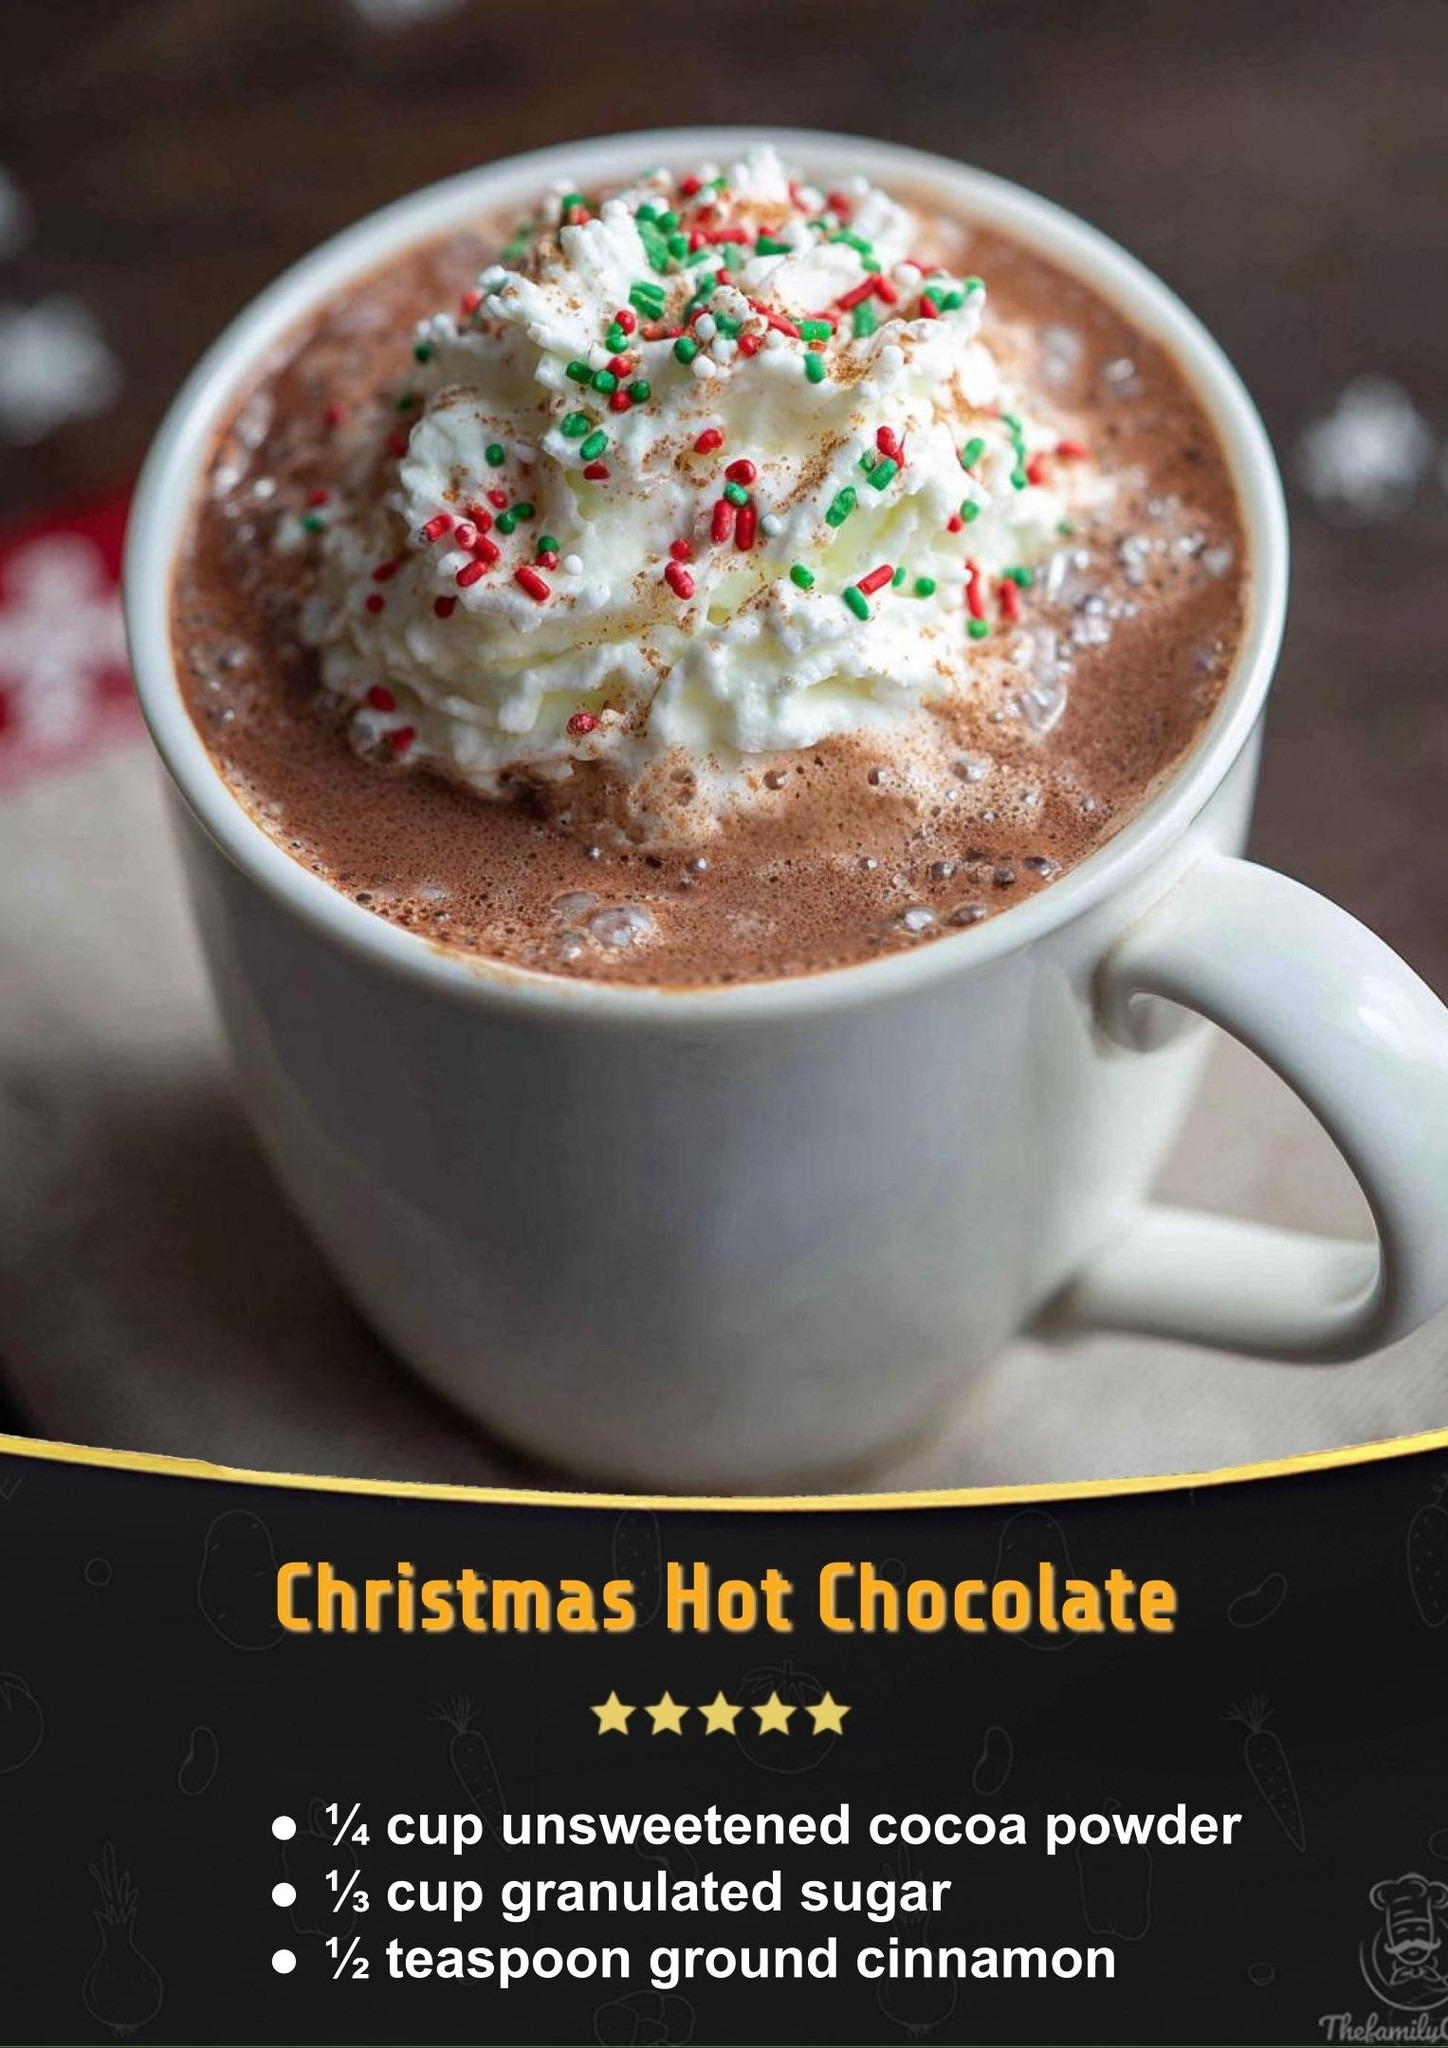
Once it’s steaming hot and beautifully smooth, I pour it into my pre-warmed mug. The aroma is intoxicating. I always do a final taste test here—sometimes I add an extra tiny pinch of cinnamon or sugar depending on my mood. Then, it’s ready. The first sip is pure velvet, warm and spiced, coating the mug with a faint chocolate film. It’s perfection.
Pro Tips for Best Results
I’ve tested this three different ways: with all water, with all milk, and with a combination. Using all milk (whole or 2%) creates the richest, creamiest, most decadent result. The fat in the milk carries the chocolate flavor beautifully and creates that luxurious mouthfeel. If you use a lower-fat milk or a non-dairy alternative, just know the texture will be a bit lighter, but still delicious.
Here’s what I learned the hard way about temperature: patience is key. Heating the milk slowly over medium-low heat prevents it from scalding on the bottom of the pan. If you see a film start to form on top while heating, don’t worry—just give it another gentle whisk. Rushing it over high heat is the fastest route to a pan with stuck-on chocolate and a slightly burnt taste.
For an ultra-silky, frothy finish, I sometimes use an immersion blender for the last 10 seconds right in the pan. It creates a lovely, light foam on top that makes it feel extra special. If you don’t have one, a regular whisk and some enthusiastic stirring just before pouring works great, too.
Common Mistakes to Avoid
My biggest first-time mistake was adding all the cold liquid to the dry ingredients at once. It created a volcano of stubborn cocoa lumps that no amount of whisking could completely eradicate. I had to start over. The paste method I described in the instructions is non-negotiable. Take that extra minute to create that smooth, glossy base; it guarantees a flawlessly silky drink every single time.
Another common error is using pre-sweetened cocoa mix. It sounds like a shortcut, but it will throw the sugar balance completely off and often contains stabilizers that change the texture. The beauty of this recipe is in its simplicity and purity—unsweetened cocoa powder, sugar, cinnamon. You control the sweetness and quality.(See the next page below to continue…)