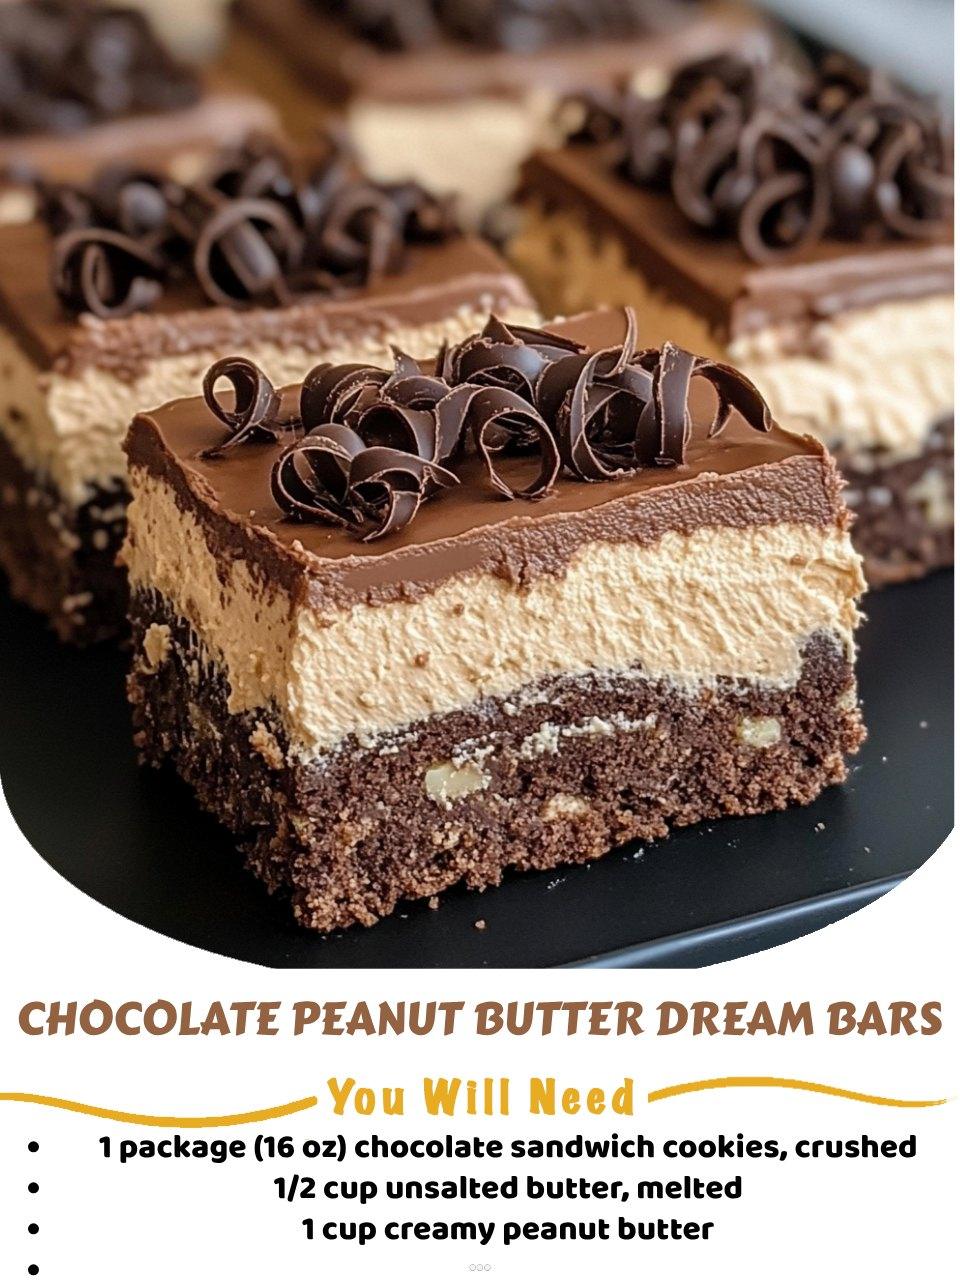
While the crust chills, I make the dreamy peanut butter layer. In a clean bowl, I combine the creamy peanut butter, powdered sugar, vanilla, and a pinch of salt. I stir with a spatula at first, then I get in there with clean hands. It will seem dry and crumbly, but as you knead it, it transforms into a soft, smooth, and pliable dough that smells amazing. I’ve tried using a mixer here, but hands work best to incorporate it fully. I then take this peanut butter “dough” and press it evenly over the chilled crust. I use my fingers and then the flat bottom of a cup to smooth it into a flawless, even layer. Back into the fridge it goes for another quick 15-minute set.
Finally, the chocolate cap. I combine the chocolate chips and coconut oil in a heatproof bowl and melt them in the microwave in 30-second bursts, stirring gently between each, until perfectly smooth. The coconut oil makes it beautifully glossy and easy to spread. I pour the melted chocolate over the chilled peanut butter layer and quickly tilt the pan to spread it into a thin, even coating. A few gentle taps on the counter remove any air bubbles. Then, the hardest part: I carefully transfer the pan to the refrigerator and let the entire masterpiece chill for at least 2 hours, but ideally overnight. This patience ensures all the layers are perfectly firm and distinct.
Pro Tips for Best Results
I tested the crust pressing method three different ways: pressing with my fingers, using a glass, and using a measuring cup with a flat bottom. My fingers left uneven spots and warm butter made it sticky. The flat-bottomed measuring cup was the clear winner. I even line it with a small piece of parchment paper to prevent sticking. Pressing with firm, even pressure is the secret to a crust that holds together like a dream when you take that first bite.
Here’s what I learned the hard way about the peanut butter layer: if it’s too soft or greasy, the chocolate topping will seep in and create a muddy layer instead of a clean, sharp one. Chilling the crust before adding the PB, and then chilling the PB layer before adding the chocolate, are not optional steps. They are the architectural secrets to those pristine, photogenic layers. I set a timer to keep myself from rushing.
For the cleanest, most satisfying cuts, I use a long, sharp knife. I run it under very hot water, wipe it dry, and make one firm, decisive cut. I wipe and reheat the knife between each cut. This slices through the firm chocolate without cracking it and glides through the softer layers, giving you perfectly neat squares with sharp edges. Cutting into these bars while they are fully chilled and set is the difference between a messy crumble and a professional-looking treat.
Common Mistakes to Avoid
My first batch had a sad, crumbly mess for a crust because I didn’t press it firmly enough. I just patted it in lightly, thinking the butter would hold it. When I went to cut the bars, the entire bottom layer disintegrated. Now, I press with serious intent, using that flat-bottomed cup to compact it until it feels almost like a solid piece of chocolate. Don’t be gentle here—this crust needs to be tough to support the layers above.
Another classic mistake is using the wrong peanut butter. In a moment of “healthier” thinking, I used a natural, stir-only peanut butter. The oil separated in the middle layer, making it soft and greasy, and it never fully set. It also made the chocolate topping slide right off. The stabilizers in conventional creamy peanut butter are necessary for the proper texture and structure of that middle layer. Trust me, do not make this swap.(See the next page below to continue…)