Now for the messy-but-fun part. With the mixer on low, I add the dry ingredients and the sour cream alternately, starting and ending with the dry ingredients. I do this in about three additions for each. The batter will be thick and luxurious. Finally, I slowly stream in the cooled, reduced apple cider. The batter will loosen up and become silky smooth. I scrape down the bowl one last time to make sure everything is perfectly mixed. I use a large cookie scoop to divide the batter evenly between lined muffin cups, filling each about 2/3 full. Then, into a preheated oven they go.
As the cupcakes bake and cool, I make the buttercream. This is my favorite part. I start by creaming the butter for a full 5 minutes until it’s almost white and super fluffy. In a separate bowl, I whisk the brown sugar and cinnamon together to break up any lumps. I add this brown sugar mixture to the butter and beat for another 2-3 minutes. This step “cooks” the brown sugar a bit in the fat, creating that incredible caramel flavor. Then, with the mixer on low, I gradually add the powdered sugar, a cup at a time, followed by the vanilla, salt, and just enough cream to reach a perfect, pipeable consistency. The frosting will be a beautiful pale caramel color and smell divine.
Pro Tips for Best Results
I tested the apple cider reduction three different ways: boiling rapidly, simmering gently, and even trying to skip it by using apple butter. Rapid boiling can scorch the sugars, giving a bitter note. Apple butter made the cupcakes too heavy. A gentle, patient simmer is the absolute winner. It reduces the liquid while deepening the flavor perfectly without burning. Letting it cool completely is just as important as the reducing step itself.
Here’s what I learned the hard way about the buttercream: you must cream the butter and brown sugar for longer than you think. The first time, I creamed them for just a minute. The frosting had a faint, gritty texture from undissolved sugar grains. Beating them for a full 2-3 minutes after adding the brown sugar ensures those granules break down into the butter, resulting in a frosting that’s smooth as silk with no grittiness.
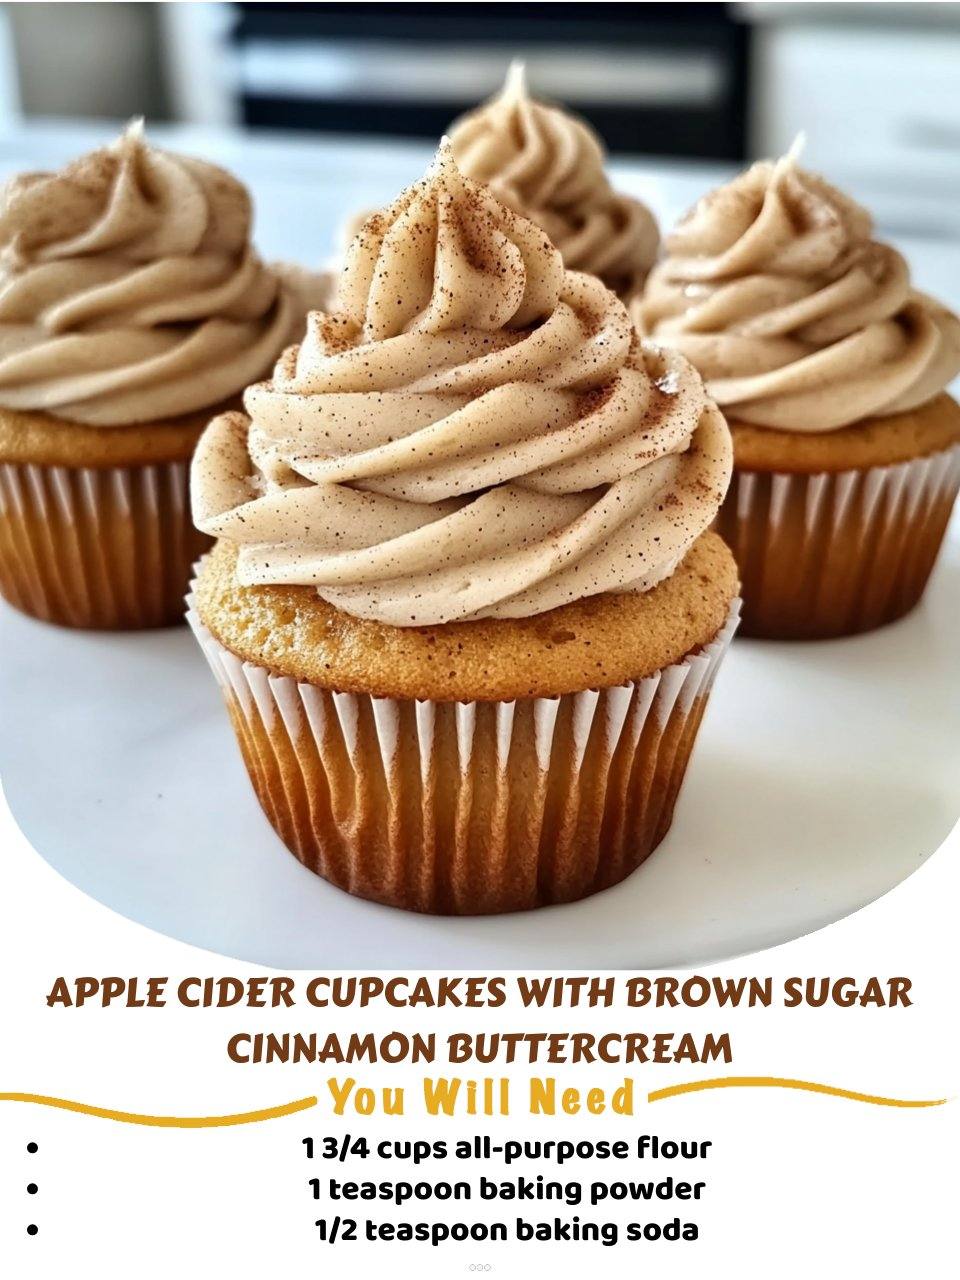
For the most professional-looking cupcakes, I use a piping bag fitted with a large open star tip. I give the cupcakes a gentle domed swirl, starting from the outside edge and working in. But an even simpler trick for beautiful presentation is to just use a butter knife or small offset spatula to create a swooping, rustic swirl on top. Then, I always finish with a light, flaky sprinkle of cinnamon sugar or a delicate dusting of ground cinnamon. It adds visual texture and a little extra spice right on top.
Common Mistakes to Avoid
My first batch was a lesson in cooling. I was impatient and added the reduced apple cider to my batter while it was still warm. It melted the creamed butter, deflating all the precious air I had whipped in. The cupcakes baked up flat, dense, and greasy. Always, always let your reduced cider cool to room temperature, or even pop it in the fridge for a bit to speed things up. Warm liquid is the enemy of fluffy cupcakes.
Another classic mistake I made was overfilling the cupcake liners. In my excitement, I filled them nearly to the top, thinking I’d get a big, beautiful dome. Instead, they overflowed in the oven, creating a sticky mess on the pan and cupcakes with weird, uneven tops that were impossible to frost nicely. Filling just 2/3 full is the perfect amount. They’ll dome beautifully without spilling over.(See the next page below to continue…)